 Pin it
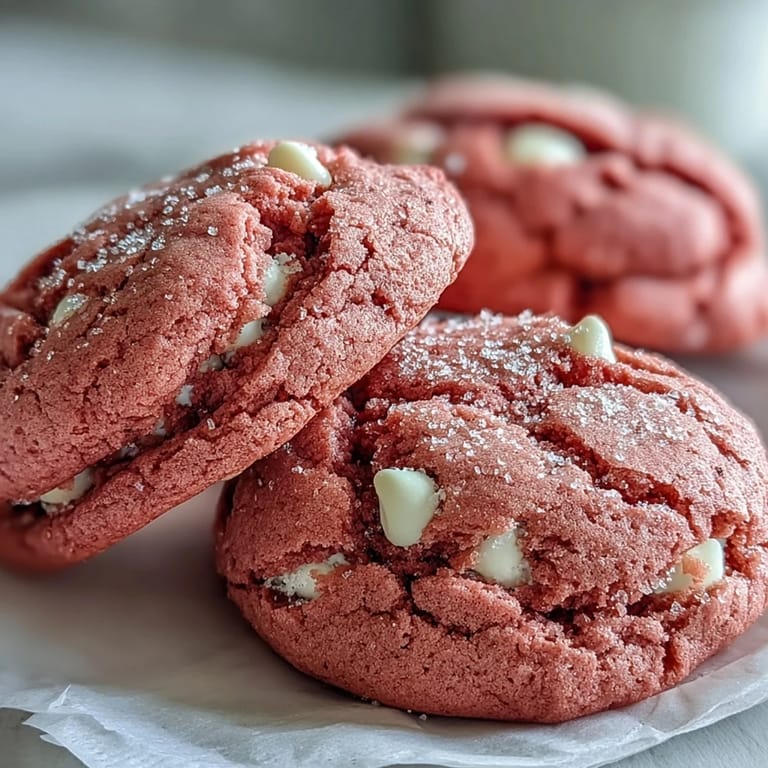
 My neighbor knocked on the door with a plate of the brightest pink cookies I'd ever seen, and I couldn't stop staring at how they practically glowed against the white ceramic. She handed them over with a grin and said they were leftovers from her daughter's birthday party. I bit into one expecting pure sugar, but instead found this tender, almost cake-like chew with pockets of melted white chocolate. That afternoon, I texted her for the recipe and made my first batch that same evening.
I brought a tin of these to a potluck last spring and watched people hesitate before reaching for one, probably wondering if they tasted like artificial strawberry. The moment someone took a bite, though, the whole table leaned in. By the end of the night, three people had asked me to email them the recipe, and one friend admitted she ate four on the drive home.
Ingredients
- All-purpose flour: This gives the cookies their structure without making them dense, and I always spoon it into the measuring cup instead of scooping to avoid packing in too much.
- Baking powder and baking soda: The combination makes the cookies puff just enough to stay soft in the center while the edges set, and I learned the hard way not to skip the baking soda or they spread too thin.
- Salt: Just half a teaspoon balances the sweetness and makes the white chocolate taste even richer.
- Unsalted butter: Softened to room temperature, it creams beautifully with the sugar and creates that melt-in-your-mouth texture I love.
- Granulated sugar: It dissolves into the butter and gives the cookies a subtle crispness on the outside.
- Egg: One large egg binds everything together and adds moisture, so make sure it's at room temperature for easier mixing.
- Vanilla extract: Two teaspoons might seem like a lot, but it deepens the flavor and keeps the cookies from tasting one-note.
- Pink gel food coloring: Gel works so much better than liquid because it doesn't thin out the dough, and you can control the intensity by adding a little at a time.
- White chocolate chips: They melt into creamy pockets and contrast beautifully with the pink dough, plus they don't overpower the vanilla base.
Tired of Takeout? 🥡
Get 10 meals you can make faster than delivery arrives. Seriously.
One email. No spam. Unsubscribe anytime.
Instructions
- Whisk the dry ingredients:
- Combine the flour, baking powder, baking soda, and salt in a medium bowl, making sure there are no clumps. This step ensures even distribution so you don't get pockets of baking soda in your cookies.
- Cream the butter and sugar:
- Beat the softened butter and sugar with a mixer on medium-high speed until the mixture looks pale and fluffy, about 2 to 3 minutes. This is where the cookies get their light texture, so don't rush it.
- Add the egg and flavorings:
- Beat in the egg and vanilla extract until smooth, then add the pink gel food coloring and mix until the color is even. I like to start with less coloring and add more if I want a bolder hue.
- Combine wet and dry:
- Add the dry ingredients to the wet mixture in two or three additions, mixing on low speed just until you don't see any flour streaks. Overmixing makes the cookies tough, so stop as soon as the dough comes together.
- Fold in the white chocolate:
- Use a spatula to gently fold in the white chocolate chips, making sure they're distributed throughout the dough. I always save a few chips to press into the tops of the cookies before baking.
- Chill the dough:
- Cover the bowl with plastic wrap and refrigerate for 30 minutes so the dough firms up and the cookies hold their shape in the oven. Skipping this step leads to flat, greasy cookies that spread too much.
- Prep the oven and pans:
- Preheat your oven to 350 degrees Fahrenheit and line two baking sheets with parchment paper. The parchment keeps the bottoms from browning too fast and makes cleanup a breeze.
- Shape the cookies:
- Scoop tablespoon-sized balls of dough and place them about 2 inches apart on the prepared sheets. I use a cookie scoop to keep them all the same size so they bake evenly.
- Bake until just set:
- Bake for 10 to 12 minutes, until the edges look set but the centers still appear soft and slightly underdone. They'll continue to cook on the hot pan, so pull them out when they look a little too soft in the middle.
- Cool on the pan:
- Let the cookies sit on the baking sheet for 5 minutes to firm up, then transfer them to a wire rack to cool completely. Moving them too soon makes them fall apart, and I've lost more than one cookie that way.
 Pin it
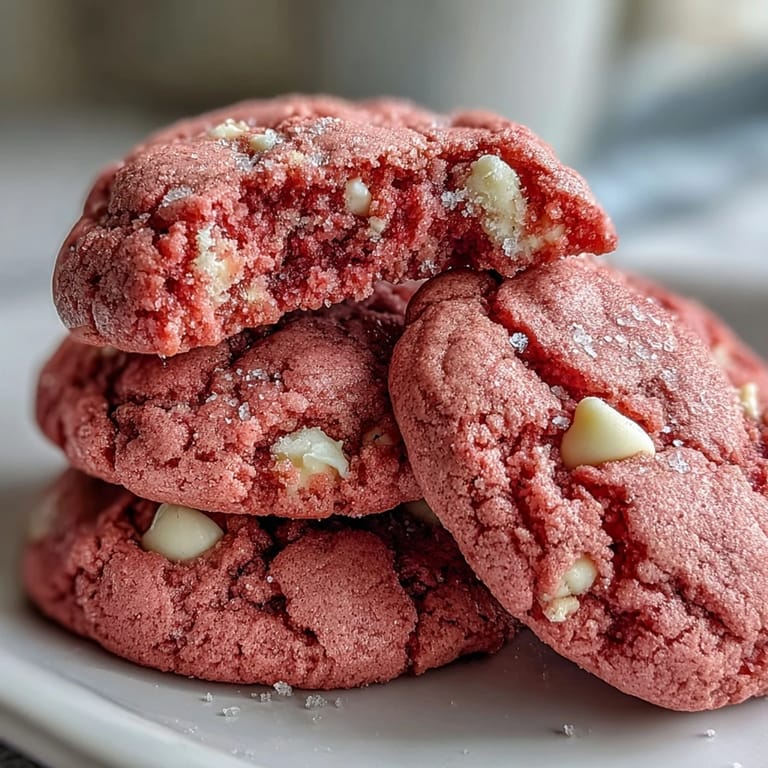
 I made these for my niece's birthday last year, and she insisted on helping me press extra white chocolate chips into the tops before they went into the oven. She ate three warm cookies standing at the counter, and every time I make them now, she asks if we can do the chocolate chip part together again.
How to Store and Keep Them Fresh
These cookies stay soft and chewy for up to a week if you keep them in an airtight container at room temperature. I like to tuck a piece of bread into the container to help them retain moisture, and I swap it out every couple of days. If you want to freeze the baked cookies, layer them between sheets of parchment paper and store them in a freezer-safe bag for up to three months.
Making the Dough Ahead
You can refrigerate the dough for up to three days or freeze it for up to two months, which makes it easy to bake a few cookies at a time. I scoop the dough into balls before freezing them on a baking sheet, then transfer the frozen balls to a zip-top bag. When I want fresh cookies, I bake them straight from the freezer and add an extra minute or two to the baking time.
Fun Ways to Customize
If you want to switch things up, try adding half a teaspoon of almond extract for a subtle floral note, or fold in some freeze-dried strawberries for a fruity crunch. I've also made these into cookie sandwiches by spreading cream cheese frosting between two cooled cookies, and they were gone in minutes.
- Press a few extra white chocolate chips on top of each dough ball before baking for a bakery-style look.
- Swap the white chocolate for dark chocolate chips if you prefer less sweetness.
- Use a 1 to 1 gluten-free flour blend if you need to make them gluten-free, just know they may be slightly more crumbly.
 Pin it
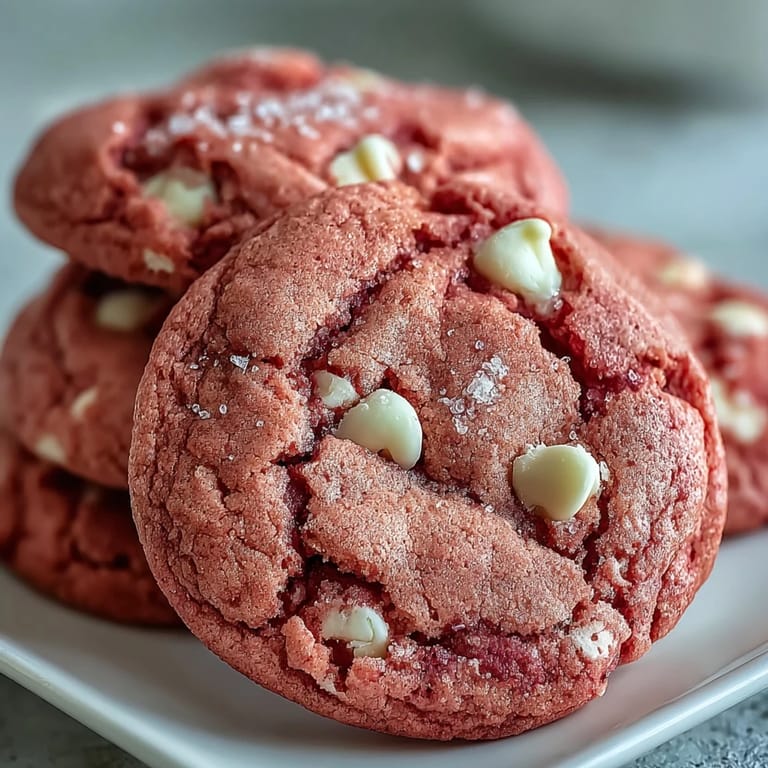
 Every time I pull a batch of these from the oven, the kitchen smells like vanilla and butter, and I'm reminded of that first plate my neighbor brought over. They're simple, cheerful, and always make people smile.
Recipe FAQs
- → What gives pink velvet cookies their color?
Pink gel food coloring provides the vibrant hue. Gel coloring works better than liquid because it won't thin the batter or affect texture. Start with 2 teaspoons and adjust for your desired shade.
- → Why is chilling the dough important?
Chilling for 30 minutes firms the butter and prevents cookies from spreading too much in the oven. This helps maintain thick, chewy centers while edges bake to perfection.
- → Can I use liquid food coloring instead?
Liquid coloring works but may require slightly more flour to compensate for added moisture. Gel coloring is recommended for vibrant color without altering dough consistency.
- → How do I know when they're done baking?
The edges should appear set while centers remain slightly soft. They'll continue firming up on the baking sheet during the 5-minute cooling period, so avoid overbaking for best texture.
- → What variations can I try?
Add almond extract or rose water for floral notes, press extra chips on top before baking, or fill cooled cookies with cream cheese frosting for sandwich treats. A 1:1 gluten-free flour blend substitutes beautifully.
- → How should I store these cookies?
Keep in an airtight container at room temperature for up to one week. They maintain softness best when stored with a piece of bread or separate layers with parchment paper.