 Pin it
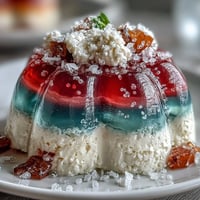
 The first time I truly understood the magic of konafa was at my neighbor's kitchen table on a Thursday evening, when she pulled a golden, crackling pastry from her oven and the entire building seemed to pause for that smell. She'd been making it since childhood, and watching her work those delicate kataifi strands with her fingers, barely touching them, showed me that this wasn't just dessert—it was architecture. Years later, I tried making it myself, nervous and clumsy, but the moment that hot honey syrup hit the warm pastry and it began to sing, I knew I'd found something worth repeating forever.
I made this for a small gathering last spring, and my friend Sarah took one bite, closed her eyes, and asked if I'd studied in Cairo—I hadn't, but that question felt like the highest compliment. Everyone reached for seconds before I'd even finished plating, and someone asked for the recipe in that voice people use when they genuinely want to understand something they love. That night taught me that konafa has this quiet power to make people feel transported.
Ingredients
- Kataifi (shredded phyllo dough), 500g, thawed: This is the soul of the dessert—those impossibly thin strands create that signature crispy texture when baked with butter, and thawing it slowly overnight prevents it from drying out or becoming brittle.
- Unsalted butter, 200g, melted: The butter is what transforms the kataifi into liquid gold, so don't skip brushing it thoroughly between layers, and use good quality butter if you can.
- Walnuts, 150g, finely chopped: Walnuts bring an earthy warmth to the filling that balances the sweetness, and finely chopping them (rather than pulsing them) keeps the texture more refined and allows them to bind better with the spices.
- Pistachios, 100g, finely chopped: These add a subtle brightness and slight color variation that makes the filling more visually interesting when the konafa is sliced.
- Almonds, 50g, finely chopped: A smaller amount of almonds rounds out the nut profile with a delicate, almost floral quality that deepens the overall flavor.
- Granulated sugar, 60g (for filling): Just enough to sweeten the nuts without overwhelming them, leaving room for the honey syrup to be the main source of sweetness.
- Ground cinnamon, 1 tsp: This is the spice that makes people ask what that warm, recognizable flavor is—it's the backbone of the filling's personality.
- Ground cardamom, 1/4 tsp: A whisper of cardamom adds sophistication and a slightly citrus-like note that elevates the whole dessert beyond ordinary.
- Granulated sugar, 200g (for syrup): This creates the base of your syrup, which will caramelize slightly as it simmers and add depth to the sweetness.
- Water, 120ml: The vehicle that carries the sugar into a syrup, and the ratio matters—too much and it's thin, too little and it becomes a glue.
- Honey, 2 tbsp: Added at the end to give the syrup a golden warmth and subtle complexity that plain sugar syrup lacks.
- Lemon juice, 1 tsp: A small but crucial addition that cuts through the richness and keeps the entire dessert from feeling cloying.
- Rose water or orange blossom water, 1 tsp (optional): If you use this, it transforms the dessert into something distinctly Middle Eastern; if you skip it, the konafa is still perfect, just a touch less perfumed.
Tired of Takeout? 🥡
Get 10 meals you can make faster than delivery arrives. Seriously.
One email. No spam. Unsubscribe anytime.
Instructions
- Prepare your workspace and pastry:
- Preheat your oven to 180°C and lightly brush a 23cm round baking pan with melted butter so the konafa doesn't stick. Gently pull the thawed kataifi strands apart with your fingertips, loosening them so they're airy rather than clumped—this is where patience pays off because separated strands will bake more evenly and crispen beautifully.
- Build the base layer:
- Spread half of your loosened kataifi into the pan, pressing it down just enough to create a compact base without squishing out all the air. Brush this generously with half your melted butter, making sure to get into all the nooks so every strand has a chance to turn golden.
- Mix and spread the filling:
- In a bowl, combine your chopped walnuts, pistachios, almonds, sugar, cinnamon, and cardamom, stirring until the spices are evenly distributed and the nuts smell warm and fragrant. Spread this mixture evenly over your buttered kataifi layer, going all the way to the edges so every bite will have that spiced nut element.
- Top and seal:
- Add your remaining kataifi on top, pressing very gently to create a seal without crushing it down completely. Drizzle the remaining melted butter all over the top surface, and use a pastry brush to encourage it into the strands so the whole top will crisp and brown evenly.
- Bake to golden perfection:
- Slide into your preheated oven for 30–35 minutes, keeping an eye on it after 25 minutes—you're looking for a deep golden-brown color that looks crisp and almost caramelized. The kitchen will smell incredible, and that's your signal that it's nearly done.
- Prepare the syrup while baking:
- In a small saucepan, combine your sugar and water, bring it to a rolling boil, then reduce to a simmer for 7–8 minutes until it's slightly thickened and syrupy. Remove from heat, stir in the honey, lemon juice, and floral water if using, then let it cool for just a few minutes so it's warm but not screaming hot.
- The crucial pour:
- The moment the konafa comes out of the oven, while it's still hot and the pastry is at its crispest, pour your warm syrup evenly over the entire surface. Watch as it soaks into all those layers and the whole thing seems to come alive—this immediate pairing of hot pastry and warm syrup is what creates that perfect texture.
- Cool with patience:
- Let the konafa rest for at least 30 minutes before cutting, which gives it time to set slightly while staying tender inside. Use a sharp knife and cut into diamonds or squares with confident, clean strokes rather than sawing, which will keep the layers intact.
 Pin it
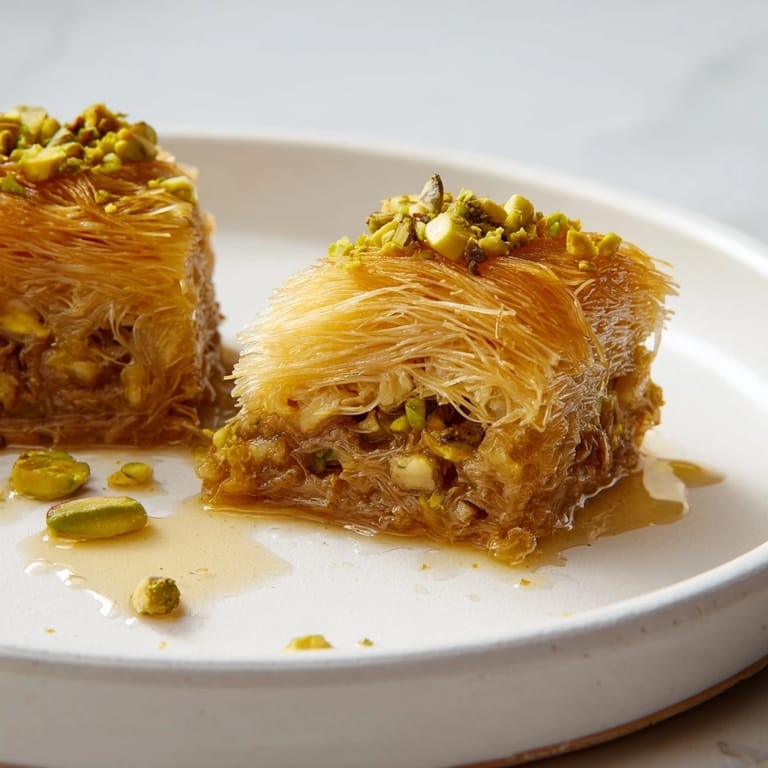
 There's a moment when you slice into a perfectly made konafa and hear that subtle crack, then watch the honey syrup glisten in the cut, that makes you understand why this dessert has survived centuries and traveled across so many tables. It's not just food; it's a small ceremony of sweetness and care that takes less than an hour but tastes like tradition.
The Magic of Kataifi
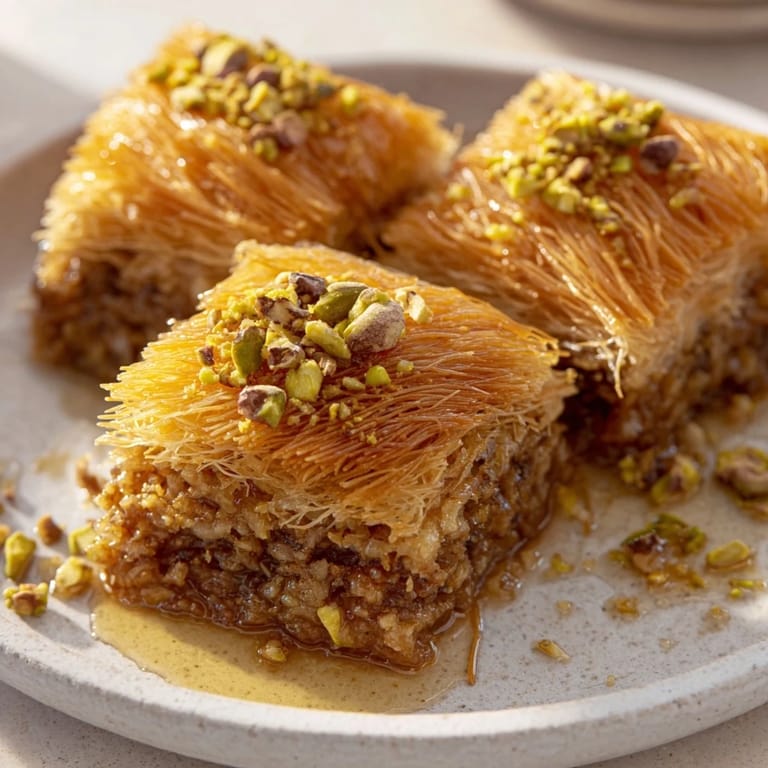
Kataifi is something special—it's phyllo dough that's been shredded into those impossibly fine strands, and it behaves differently than regular phyllo sheets. The strands crisp up into something almost lace-like, creating pockets for butter to penetrate and syrup to settle into, giving you layers of texture in every single bite. Once you work with it, you start to see why Middle Eastern bakers prize it so much; it's technically simple but demands respect and gentle handling.
Customizing Your Filling
While the combination of walnuts, pistachios, and almonds is classic, I've had versions with hazelnuts that were equally stunning, and once I tried a batch with pecans and a touch of maple that my cousin still asks me to replicate. The proportion of nuts to sugar and spices is what matters most—you want enough sweetness and spice to flavor them without making them clumpy or wet. Experiment with the ratio of nuts if you prefer a particular one, but keep the total weight around 300g so your filling maintains the right balance and texture.
Serving and Storage Wisdom
Konafa is best served at room temperature, which is when the contrast between the crispy exterior and tender interior really sings. It keeps beautifully in an airtight container for three or four days, though truthfully it rarely lasts that long in any kitchen where people know what it is. If you want to make it ahead, you can bake it without the syrup and store it, then pour the syrup over it an hour or so before serving—this actually improves the texture slightly because the pastry stays crispier.
- A small dollop of whipped cream or even plain yogurt alongside makes the richness feel more balanced and adds a cool contrast.
- Fresh berries scattered on top or served on the side add brightness and cut through the sweetness beautifully.
- If you're serving it to guests, slice it just before plating so the pieces stay crispy and look their most impressive.
 Pin it
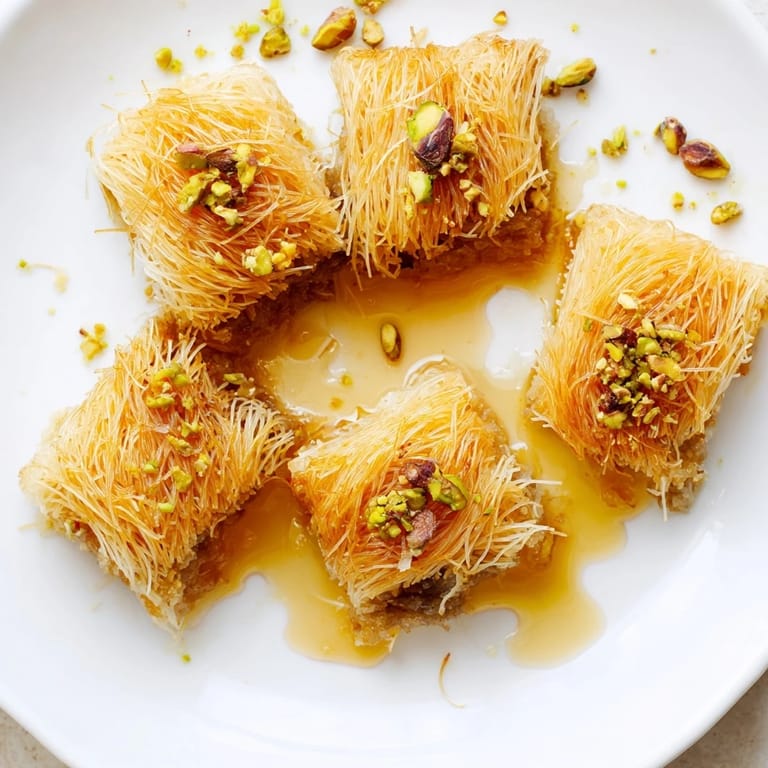
 Making konafa taught me that sometimes the most elegant desserts come from the simplest ingredients treated with attention and care. This one always delivers, whether you're feeding a crowd or making it just because you woke up craving something that tastes like every good memory at once.
Recipe FAQs
- → What type of pastry is used for Konafa?
Shredded phyllo dough, also called kataifi, is used for its delicate, crispy texture when baked.
- → Which nuts are typical in the filling?
Walnuts, pistachios, and almonds finely chopped are traditional for a crunchy, spiced nut layer.
- → How is the honey syrup prepared?
Granulated sugar is boiled with water then simmered and combined with honey, lemon juice, and floral water for a fragrant syrup.
- → Can the nut filling be varied?
Yes, substitutions like hazelnuts, cashews, or pecans work well to adjust flavor and texture.
- → What is the recommended baking temperature and time?
Bake at 180°C (350°F) for 30-35 minutes until the pastry turns golden and crisp.
- → How should Konafa be served?
Allow to cool for 30 minutes after soaking with syrup, then slice into pieces and serve at room temperature.